
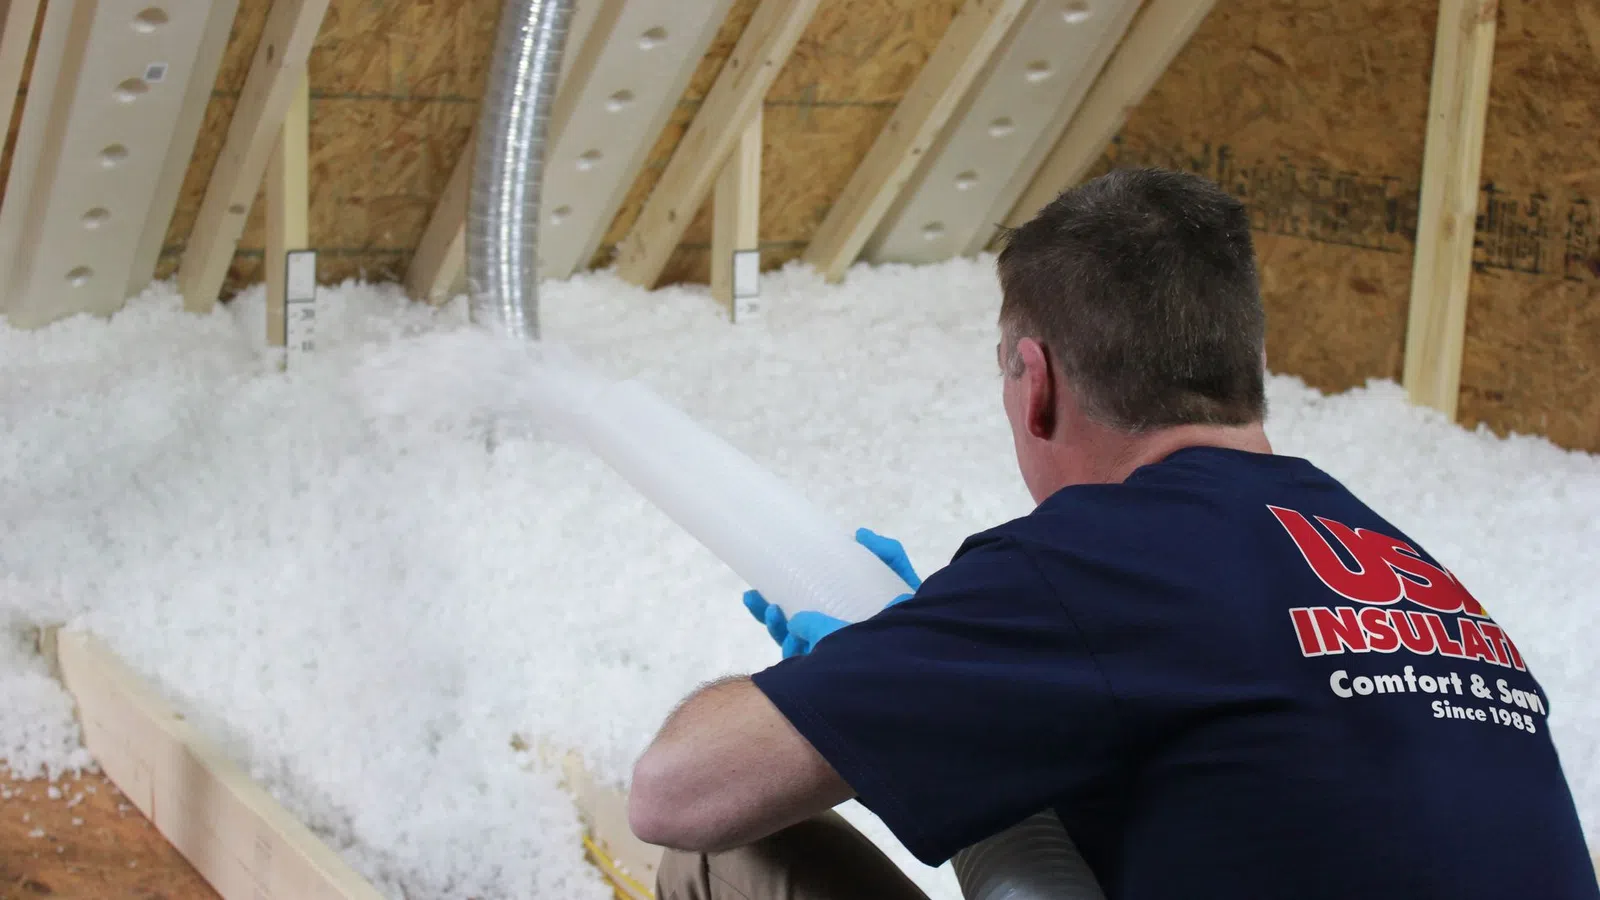
On a typical job, blown-in attic insulation goes in after a few careful prep steps. The crew measures what is in your attic now, seals the hidden air leaks, protects your home, sets baffles and clearances where needed, and then blows loose-fill insulation to an even depth that is checked with depth markers before cleanup.
Plenty of homeowners in Spokane, Spokane Valley, Coeur d'Alene and Post Falls know their attic is thin. What holds them back is not knowing what the work involves. Will someone be in the house all day? Will there be a mess? What exactly happens up there?
November is a good time to find out. Attics are cool enough to work in comfortably, and heating bills are starting to climb. Here is the walkthrough, step by step, as it usually goes on a home in the Inland Northwest.
What is blown-in attic insulation, exactly?
Blown-in insulation, also called loose-fill, is made of small pieces of insulating material that a machine blows through a long hose into your attic. It settles into a continuous blanket that fills around joists, wiring, and odd corners where rolled batts leave gaps.
That ability to fill every corner is why it works so well in older attics. Many homes in Shadle, Garland, Hillyard and the Garden District in Coeur d'Alene have attics with uneven framing, old wiring and low spots near the eaves. Loose-fill covers it all in one even layer.
Step 1: How does the crew figure out what your attic needs?
It starts with an inspection. Someone goes up into the attic, measures how deep the existing insulation is, and looks at its condition. Thin, packed down, patchy or disturbed areas all get noted, along with photos.
They also look for things that affect the job:
- Signs of moisture or past roof leaks
- Recessed lights, chimneys, flues and other heat sources
- Air leaks around plumbing stacks, wiring holes, the attic hatch and the tops of interior walls
- How the eaves are built and whether the soffit vents are open
- Duct runs and bathroom fan vents that pass through the attic
From there, the plan sets a target depth. ENERGY STAR recommends R-60 for an uninsulated attic in our climate zone, and R-49 when adding to an attic that already has 3 to 4 inches. Spokane County and Kootenai County are both in Climate Zone 5, so those are the numbers that matter here.
Step 2: Why does air sealing come before the insulation?
Air sealing and insulation do different jobs. Insulation slows heat moving through a surface. Air sealing stops warm air from physically escaping through gaps. Loose-fill insulation does not stop air from flowing through it, so warm air can keep leaking up through a hole even with a deep layer on top.
Warm air rises, and in winter it pushes up into the attic through every opening it can find. These openings are called attic bypasses. Common ones include:
- Gaps around recessed light housings
- Holes where wiring and plumbing pass through the top plates of walls
- Open chases around chimneys and plumbing stacks
- Dropped soffits over kitchen cabinets and bathrooms
- The attic hatch or pull-down stairs
On a typical job, Attic Air Sealing happens first, while the attic floor is still easy to see and reach. Once a deep layer of insulation is down, those gaps are buried and much harder to get to.
Step 3: How is your home protected during the work?
Before any insulation goes in, the crew protects the path between the outside and the attic access. That usually means drop cloths or floor coverings along the route, and covering furniture near the hatch if it sits inside a closet or hallway.
The insulation machine itself usually stays outside in a truck or trailer. A hose runs from the machine to the attic, often through a door, a window or the hatch, depending on how your home is laid out. Keeping the machine outside keeps most of the noise and material out of your living space.
It helps to clear a little room around the attic access before the crew arrives. If your hatch is in a closet, moving clothes and boxes out of the way ahead of time makes the day easier for everyone.
Step 4: What are baffles, and why do they go in at the eaves?
Most attics are ventilated through vents in the soffits, under the eaves. Outside air comes in there and moves up and out near the roof peak. If insulation gets blown into that space and packs against the roof deck, it can block those vents.
Baffles, sometimes called rafter vents or vent chutes, are channels installed between the rafters at the eaves. They hold the insulation back and keep a clear air path from the soffit vents into the attic. On a typical job, baffles go in wherever they are needed before the insulation is blown, because they are nearly impossible to install afterward.
Step 5: How does the crew keep insulation away from heat sources?
Some things in an attic need clearance from insulation. Older recessed lights that are not rated for contact with insulation, chimneys and certain flues are the usual examples.
On a typical job, the crew builds dams or barriers around these items as required by code and the manufacturer's instructions, so the insulation stays the right distance away. They also usually build a dam around the attic hatch so the loose-fill does not spill out every time someone opens it.
Step 6: How is the insulation blown to an even depth?
Before blowing, the crew usually staples depth markers to the framing in several places across the attic. These are simple rulers that show how deep the insulation needs to be to reach the target R-value.
Then the blowing starts. One person works the hose in the attic, usually starting at the far edges and working back toward the hatch, while another feeds material into the machine outside. The goal is an even layer with no thin spots, especially near the eaves and around obstacles where it is easy to come up short.
When the hose work is done, the depth markers make it easy to see that the coverage is consistent from one end of the attic to the other.
Step 7: What happens at the end of the job?
Once the attic is filled, the crew checks the depth across the attic against the markers and looks over the baffles, dams and hatch. Many crews take photos of the finished attic, so you can see the result without climbing up yourself. Ask for them if they are not offered.
Then comes cleanup: hose out, drop cloths up and any stray material vacuumed or swept. The hatch goes back in place. Your home should look the way it did when the crew arrived.
Why does attic insulation matter so much in the Inland Northwest?
Our winters are long and cold, and that is when an attic does its hardest work. Heat collects at the top of the house and pushes against the ceiling for months. A thin or leaky attic lets it go.
Many older homes on the South Hill, in the Perry District and in Coeur d'Alene's Fort Grounds and Midtown were built with far less attic insulation than ENERGY STAR recommends today. Over the decades, some of what was there has been packed down by storage, disturbed by electrical work or pushed aside by critters. Snow on the roof can tell a story too: if your roof melts off faster than your neighbor's, heat may be escaping through the attic.
ENERGY STAR estimates homeowners can save an average of 15 percent on heating and cooling costs by air sealing and adding insulation in attics and a few other key areas. Results vary from home to home, but the attic is often the place to start.
Call a pro or handle it yourself?
Some homeowners rent a blowing machine and try this themselves. Here is an honest look at which parts fit a weekend and which are better left to a crew.
- Measuring your current insulation depth: Handle it yourself. A tape measure and a flashlight from the hatch can tell you a lot. Stay on the framing and never step between joists.
- Weatherstripping the attic hatch: Handle it yourself. It is simple and makes a noticeable difference.
- Finding and sealing every attic bypass: Call a pro. The leaks are often hidden under old insulation, and missing the big ones undercuts the whole job.
- Installing baffles at the eaves: Call a pro. The space at the eaves is tight and awkward, and blocked vents can lead to moisture problems.
- Building clearances around recessed lights and chimneys: Call a pro. These have code and manufacturer requirements, and getting them wrong is a safety issue.
- Blowing an even layer across the whole attic: Call a pro. Rental machines and inexperience often leave thin spots near the edges where heat loss is worst.
Takeaway: checking your depth is a good homeowner job, but the sealing, venting and clearance work that make blown-in insulation perform are best done by an experienced crew.
How do you get started?
The first step is a free in-home insulation inspection. We measure your walls and attic, take photos of what we find and give you a written price, so you know what your attic needs before you decide anything. If the walls need help too, we can talk through Premium Injection Wall Foam or the Ultimate Home Comfort approach for the whole house.
Financing is available through independent lending partners, subject to lender approval, if you want to spread out the cost.
Get your attic ready before the deep cold
A blown-in attic job is straightforward when it is done in the right order: measure, seal, protect, vent, clear, fill and check. Knowing the steps makes it easier to ask good questions and spot a crew that skips them. Request a free attic insulation assessment with USA Insulation of Spokane-CDA, and we will show you exactly where your attic stands.